

Have you ever thought to give someone a flower crown for their birthday? Flower crowns make great birthday presents. Why buy a normal plastic crown when you can make a unique, one-of-a-kind, handmade crown of flowers? They are fun, adorable, thoughtful, and customizable. They are also great for festivals, fairs, or just because.
I recently made some flower crowns for my friend’s birthday, and a lot of people asked how I made them, so I thought I would share. Here are my tips and instructions on how to make your own Flower Crown.

What You Will Need:

- Fake Flowers: You can find fake flowers at nearly any craft store. They make some really nice ones that look very real.
- You can pick only small flowers for a dainty crown, or you can mix small, medium, and large flowers together for a fuller, varied crown — which is my favorite look. Remember that nature generally grows in odd numbers; so, if you decide to have large flowers in your crown, be sure to use an odd number for a natural look (e.g., use three roses instead of two).
- I have also found that variety in color make flower crowns look fuller and more lavish. So, if I decide to only use one color for a crown that I want to make, I will chose more than one shade of that color and maybe even add small white flowers to highlight the color.
- I have chosen in this instance to make a spring rainbow, so I have flowers of every color and size.
- Note: If you want to make a flower crown of real flowers, you will need thick floral wire to form a wire crown base and floral tape to wrap the flower stems to the wire, but the rest of these instructions will still apply.
- Needle-nose Pliers: You will need these to wrap, flatten, and cut wires. Needle-nose pliers come with built-in wire cutters on the pliers near the joint. If you have difficulty cutting a large flower’s wire, it can help to bend the wire back and forth while clamping down on the wire cutter, plus rotating the wire some to get a different side of the wire.
- Ribbon: Choose ribbon to match your flowers. If a ribbon color cannot be decided upon, you can also pick a green that matches the leaves of your flowers. The ribbon wraps around the exposed wire and cuts down on getting your hair tangled in the crown.
- Green or Clear Thread: This is to invisibly tie off stubborn or extra long flowers. It is not always necessary to use this, but it keeps your crown reliably looking good.
- Scissors: You need these to cut the thread and ribbon, but please do not use regular scissors to cut wire. They are not very good at cutting wire, and you will ruin them. Use wire cutters.
.
Step 1: Form the Crown
Pick two of your thicker-stemmed flowers and curl the flower ends around each other. Leave enough room for the flowers to stick up straight instead of sideways on the crown. Curve the two stems around and measure on your head for the right size circumference of your crown. Curl the ends around each other to secure the size. You can cut off the extra part of the stems; just make sure the ends of the wires are pressed down so that they will not poke you in the head.

.
Step 2: Add a Large Flower (Optional)
If you are using three large flowers in your crown, curl the wire of the third large flower around the crown next to the front two large flowers. Cut off extra wire and again, and be sure the end of the wire is curled around so that it will not hurt of scratch you. Make sure you bend the wire so that the flower points out and not flat against the crown.

.
Step 3: Add More Flowers
Cut the excess stems off the rest of the flowers you intend to add, but leave enough wire to wrap around the crown. Add the rest of the flowers evenly to each side, starting in the middle and working your way out, wrapping the wire stems around the crown. I like to point all of the flowers facing toward the middle so that it looks like organized chaos. Make sure there are no pokey bits and that all of the wire ends are pressed down.

.
Step 4: Tie Down the Small Flowers
Use the green or clear thread to tie down the wild small flowers. This will also help keep the flowers in place when the crown is worn, and it can also help cut down on the loss of flowers over time. The thread is meant to be invisible, and I do this by working the thread down to the stems to tie them down, not on top of the flowers.


.
Step 5: Add Ribbon
Wrap ribbon around the wire stem portion of the crown. This will cut down on the wires pulling at your hair and also make it feel more comfortable on your head. Then tie ribbons — about 15 inches on each side or longer if you prefer — to the middle of the ribbon-wrapped portion of the crown. You can add different colored ribbons here or just keep it plain. This step calls for more customization, and you can tie a bow on top of the ribbons as well.


.
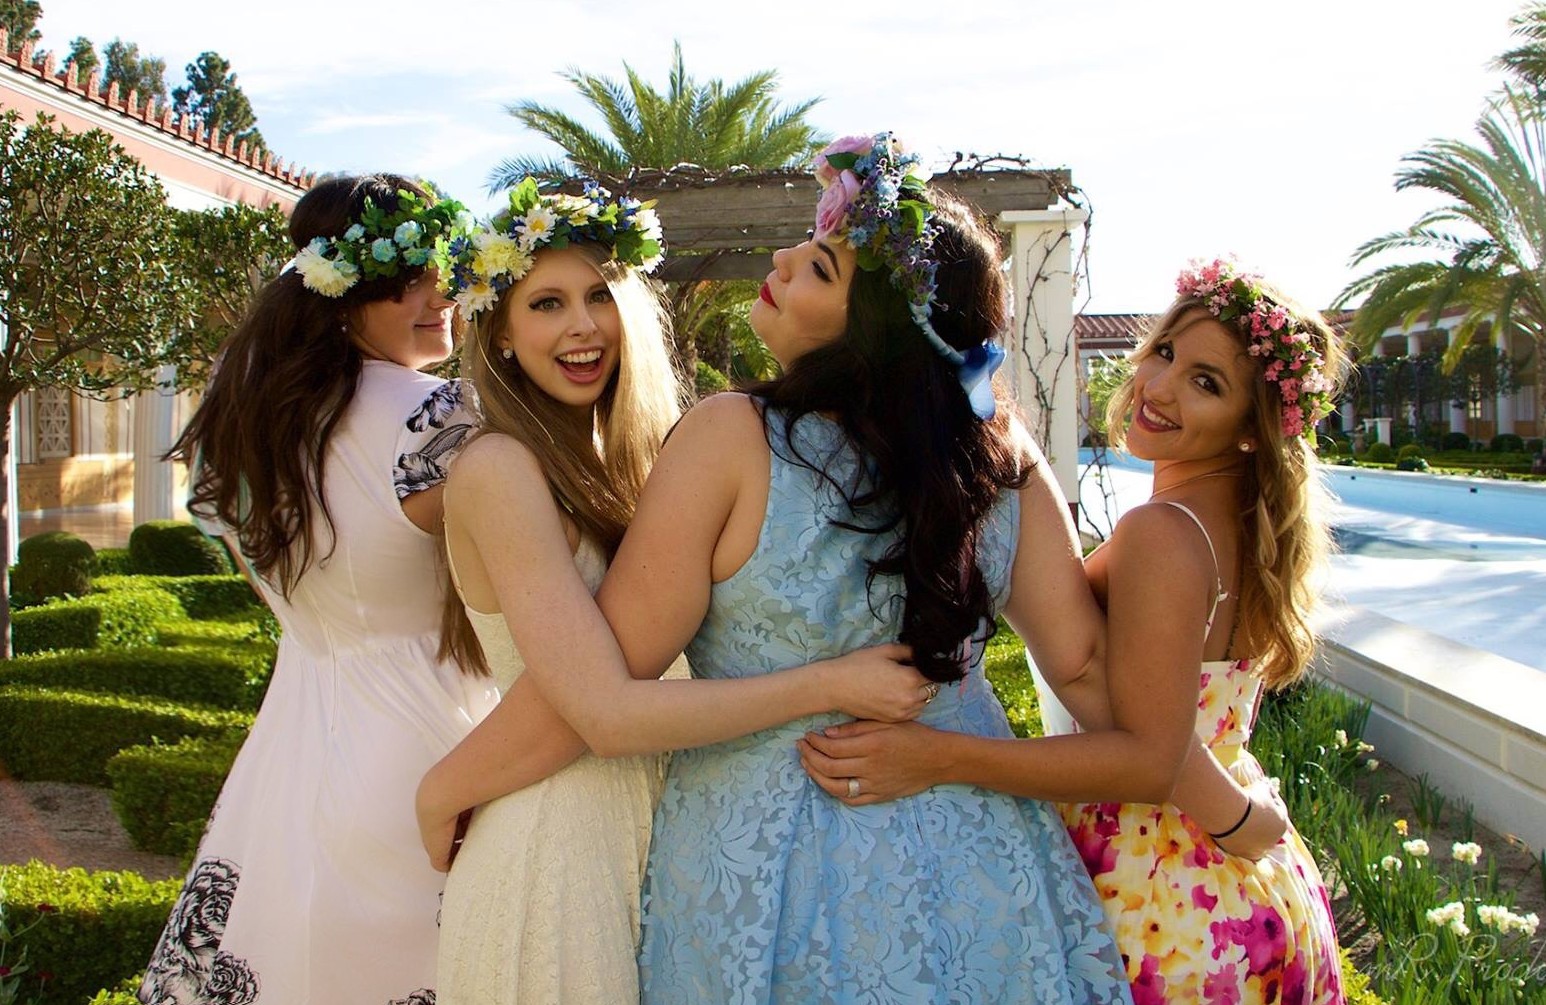
Step 6: Wear the Crown
Now is your time to enjoy your creation, give it to a friend, or find some enthusiastic models to pose for you. My dogs were great for this. My cat was not; she just tried to attack it and eat all the ribbons. My final tip is to keep your new flower crown away from cats!


One thought on “DIY: Flower Crown”